Installation & Activation
Before You Start
Before attempting to install the plugin, please read the following articles:
The following article will then guide you step-by-step through the installation routine:
- Navigate to Admin area and choose Plugins
- Click Add New
- Upload the Plugin
- Click Install Now
- Click Activate Plugin
Step 1
Log into the WordPress admin area and navigate to the Plugins menu option.
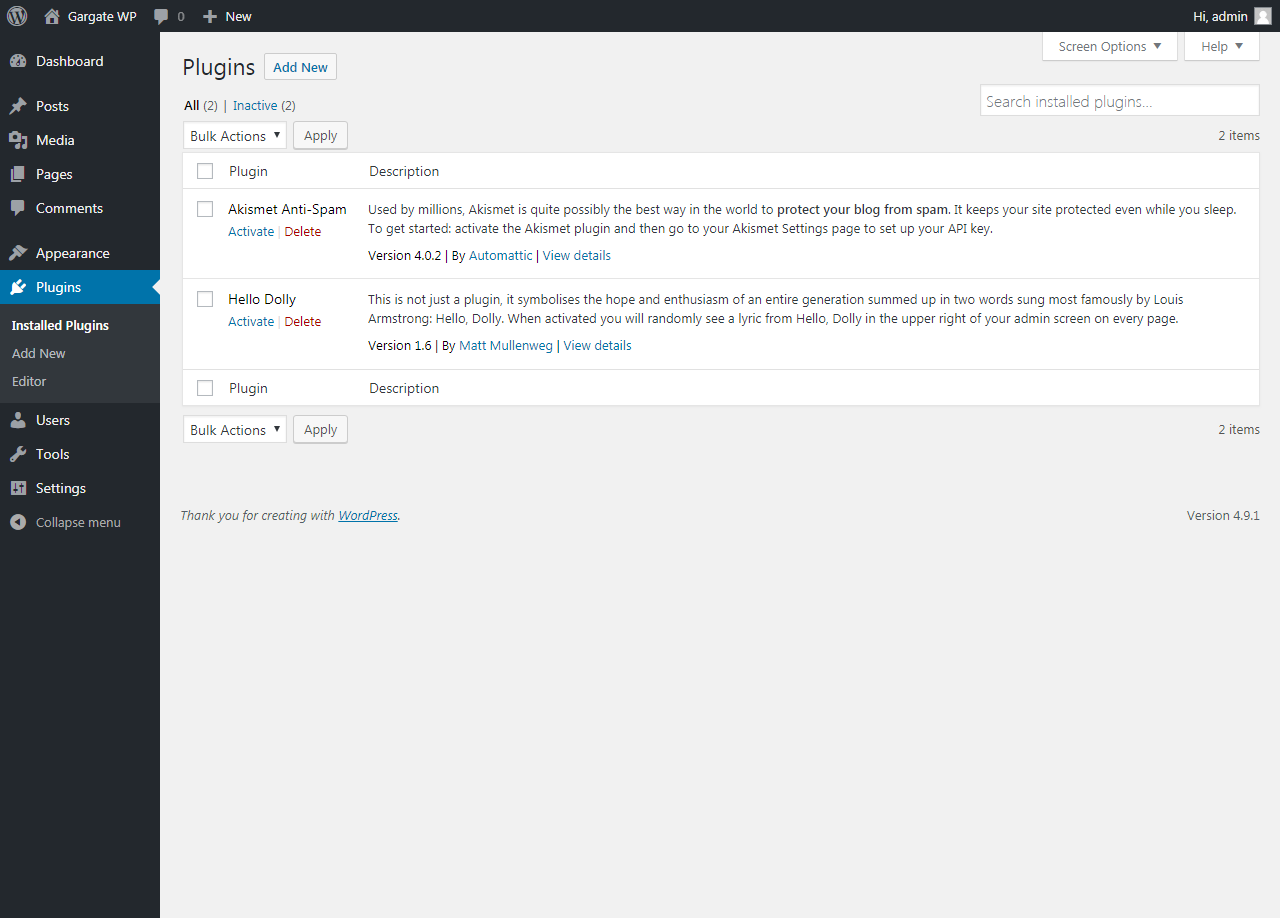
WordPress Plugins
(click image to zoom)
Step 2
Click Add New to add a new Plugin.

Add New WordPress Plugin
(click image to zoom)
Step 3
As we are installing a premium plugin, choose Upload Plugin.
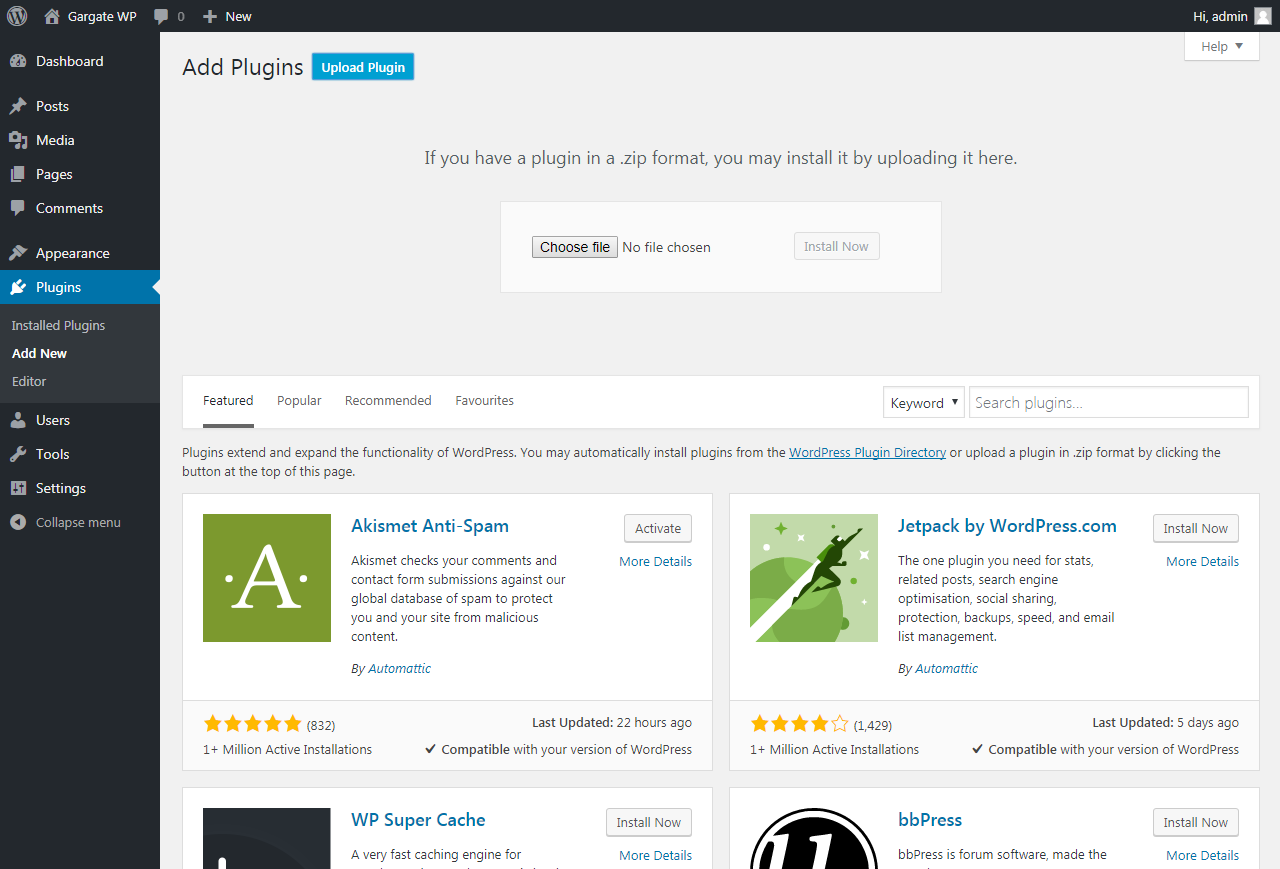
Upload Plugin
(click image to zoom)
Step 4
Choose the zip file downloaded from the WP Site Importer website and click Install Now.
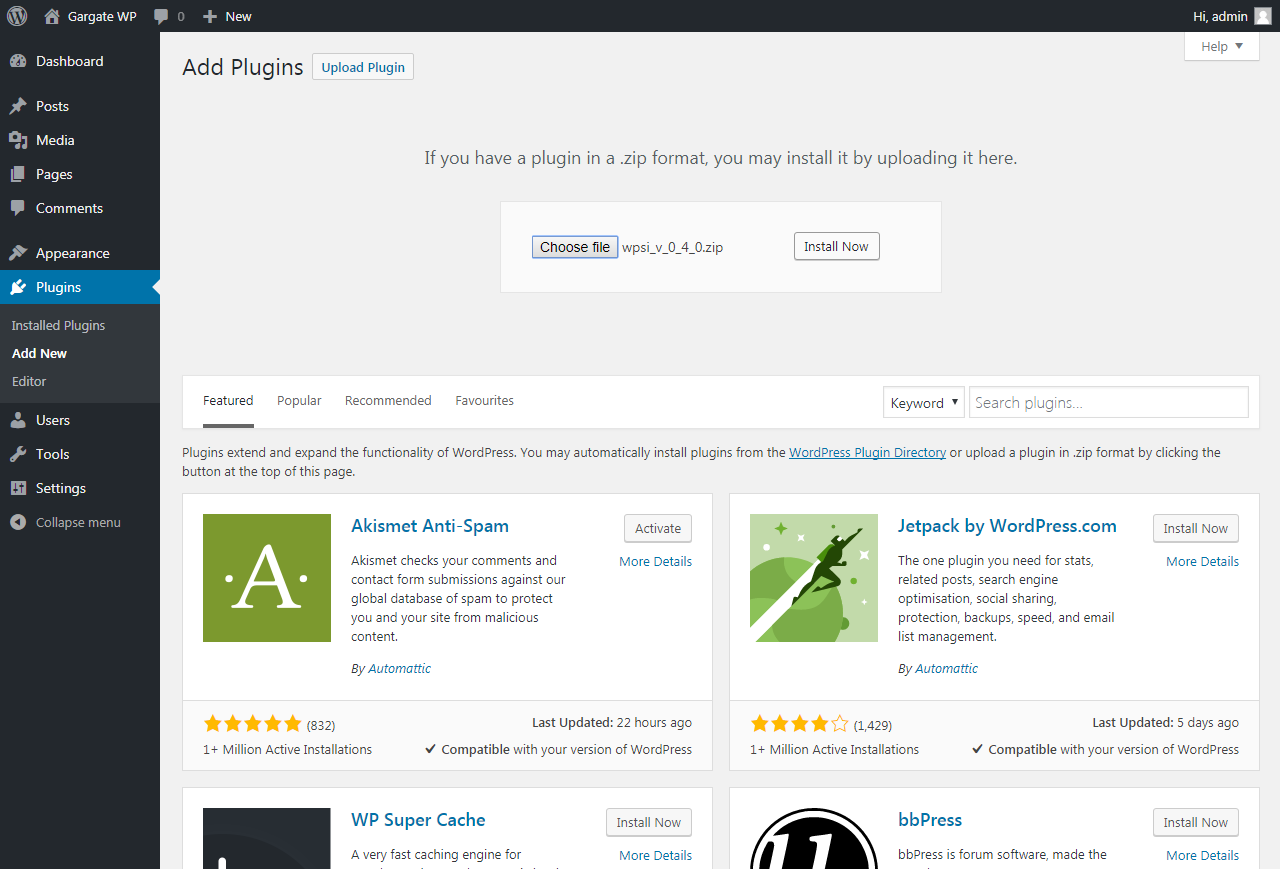
Install Plugin
(click image to zoom)
Step 5
Once the plugin has installed, click Activate Plugin.
A new menu option will be added to WordPress labelled Site Importer.
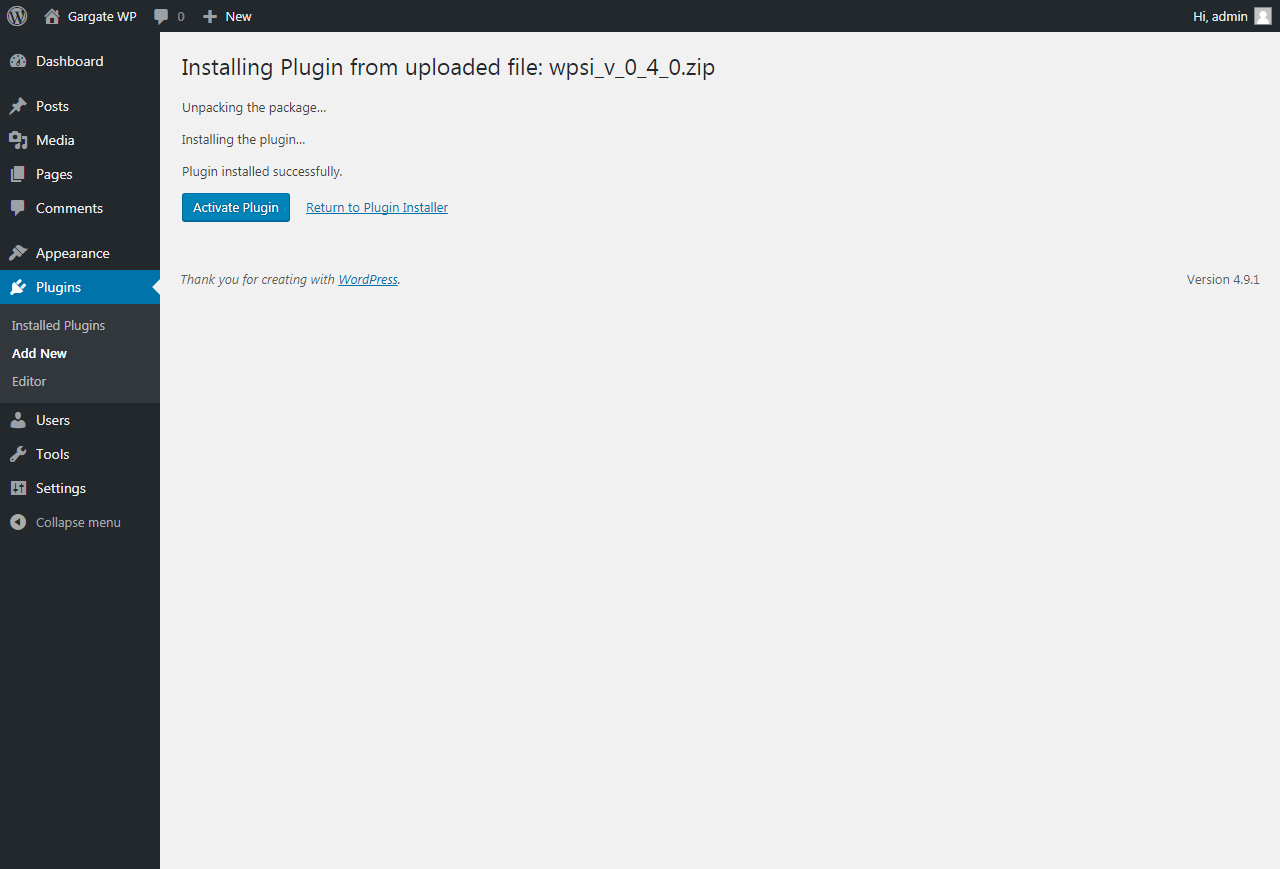
Activate Plugin
(click image to zoom)